1. Import your first Excel file
💡 When starting to process your data using Tablize, you can begin by either importing Excel data or establishing a data synchronization connection. Alternatively, you can also create a blank table directly within Tablize and input your data. Once your data is within Tablize, you can commence your data work.
📖 This document will guide you on how to import your first Excel file data using Tablize and embark on your data exploration journey.
Tablize has prepared sample data for you. You can click to download it here: Sample Data
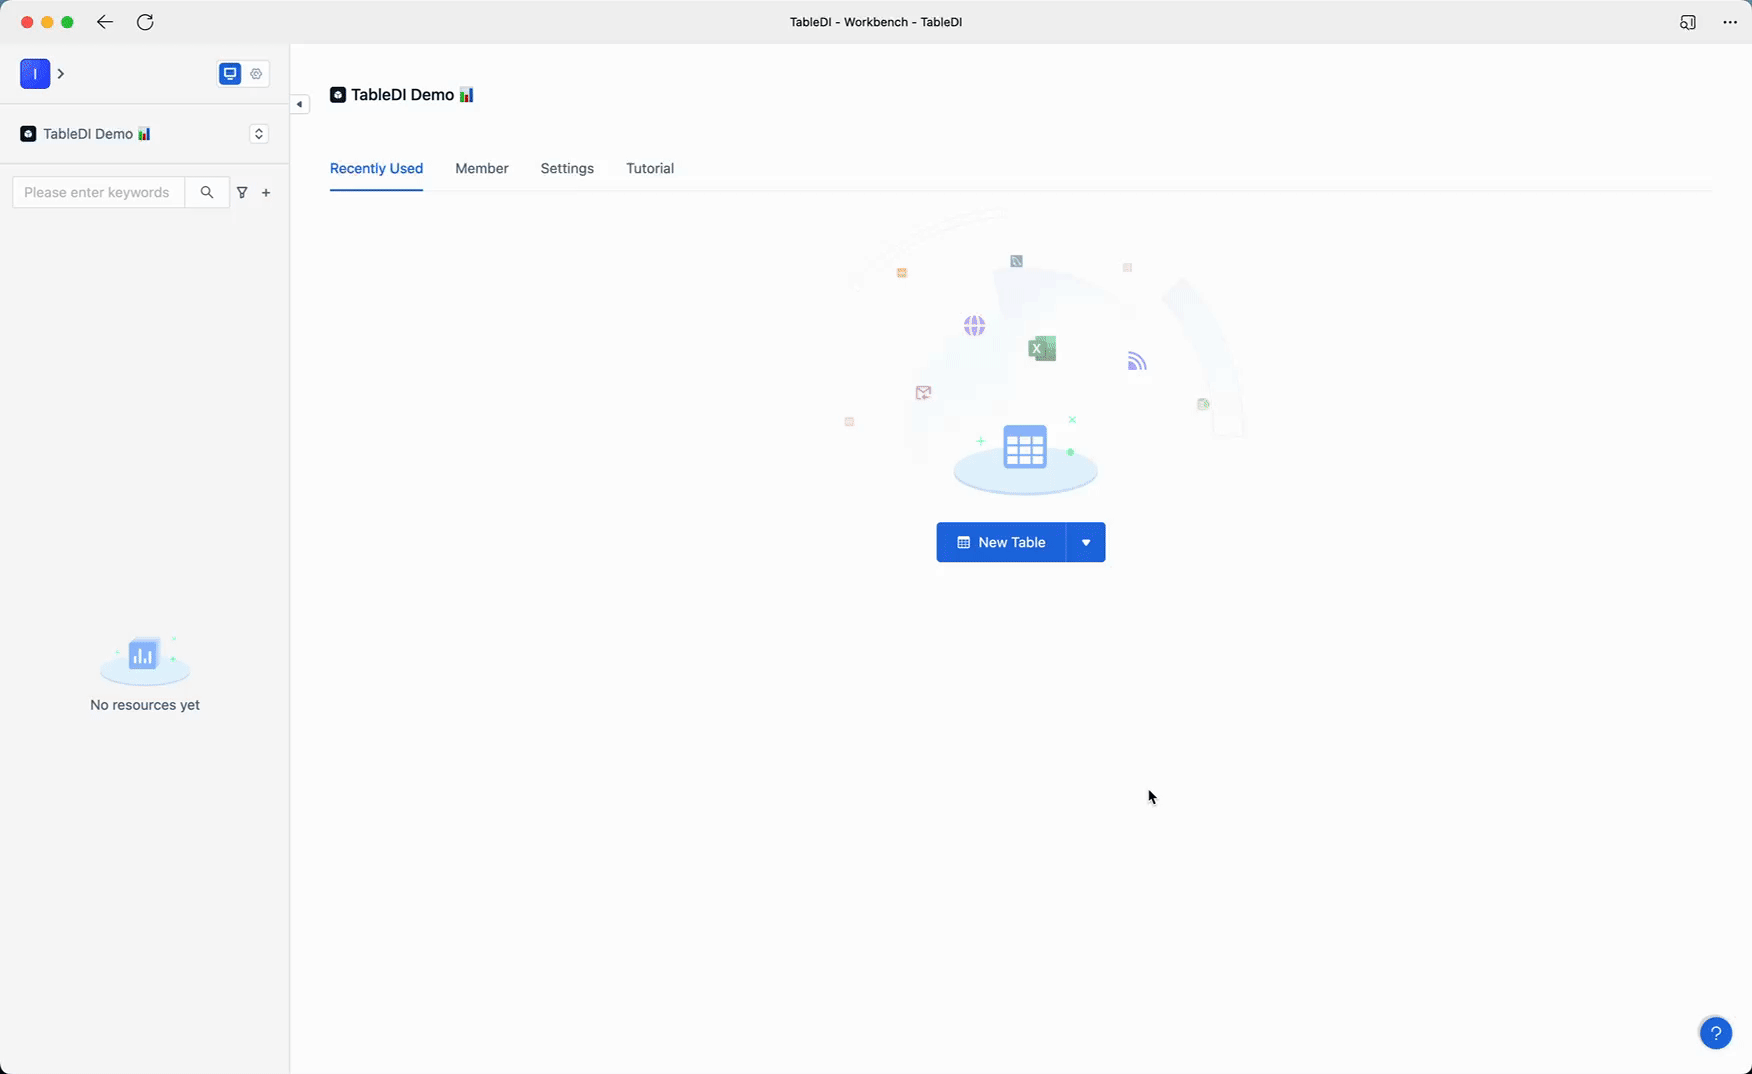
Step 1
Enter the Tablize workspace, click on "New Table," and select "Import local data" from the dropdown menu. This will open the data import window.
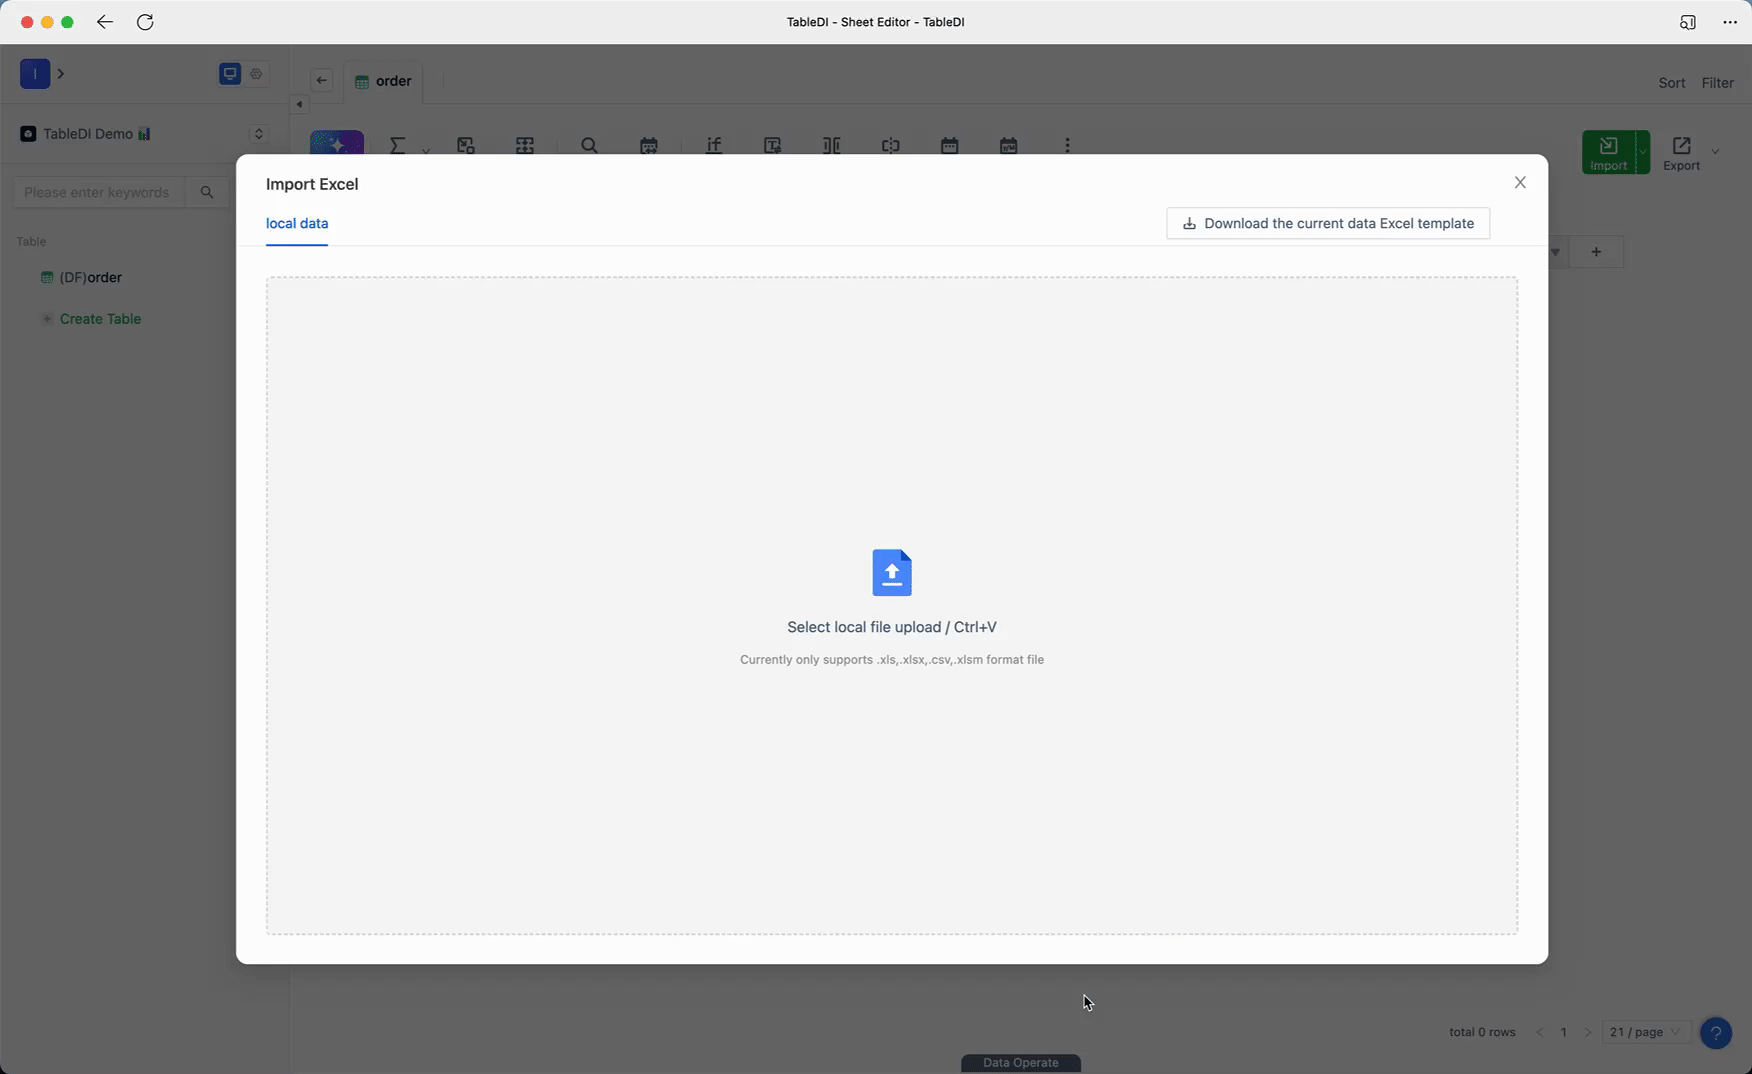
Step 2
In the data import window, click within the designated area to select your local Excel file. After selecting the file, click "Open" to enter the data pre-editing interface. You can proceed by clicking "Next" to complete the data import.
If you have multiple sheets within your file, you can switch between sheets to import them individually.
After completing the data import, the data will be imported into Tablize. You can then proceed with further data imports or begin your data processing journey.
If you need more information regarding data import, please refer to: Importing Excel, CSV and clipboard data
FAQs
Q1: Does merging cells in Excel affect data import?
A1: Before importing a local Excel file, it's important to check if the original data contains merged cells. If there are merged cells in the data table, Tablize will automatically split these cells during the import process.
Q2: The data order in Tablize is opposite to Excel?
A2: Tablize operates in a database-like manner, where the most recent data is always at the top row of the table editor, making it convenient for your editing and viewing purposes.